The assembly process of a exhibition stand and the control of its times
If you have ever seen a stand construction company leave an unfinished stand at a fair, you will not forget it, and it happens more often than you think. That is why following the process is a hygienic practice that I would not skip considering the responsibility you have at hand.
Without interfering in the work of the assemblers, you can check these steps with the person in charge to make sure that nothing strange is happening and that your assembly is done correctly:
A- Installation of fair services and Rigging
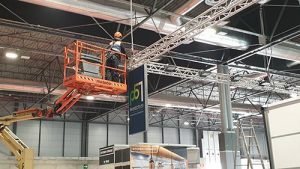
The fair usually does it from a few days before until the first day of assembly. The dates are usually stipulated in the forms of the fair. It is important to make sure that the assembler has found everything that has been asked of him, if he has electricity, water, compressed air, etc. in the booth.
Things that you should not neglect in this assembly phase:
- Check the deadlines months before the fair. If you miss the deadlines you will pay much more for the services.
- Make sure that the fair has a map with the location of the services (it is usually attached to the online service platforms when contracting).
- Make sure that the company has paid for the services, some of them will not be installed if they are not paid before the fair.
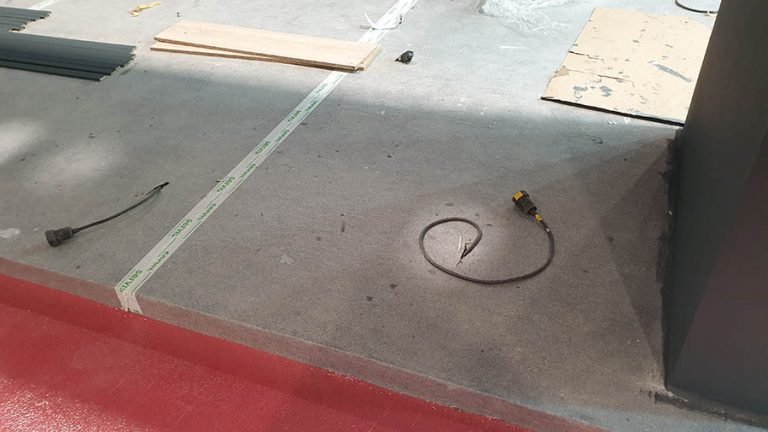
- It is important that before the arrival of the material, or the first day of assembly, someone checks that both the anchoring points and the location of the services are correct. It is also important to verify that there is no lack of electricity, water supply, air, etc. Sometimes the installation is done but the service is not provided.
b- Arrival of assembly material, unloading

Once the material arrives at the fair, it is unloaded from the truck. Unloading at some fairs is done by reserving time slots, at others it is by order of arrival. Many times the congestion of trucks in the access to the fair causes the trucks to enter several hours later than expected.
At the big fairs the trucks first pass through a checkpoint from which they leave for the fair when they are given the go-ahead that they have a dock to unload. In some fairs the download can only be done by the official logistics company of the fair, in others there are several. The download is sometimes not included in the providers' budget, so be careful, at some fairs there are huge surcharges in this concept by the fair. The material is unloaded in the corridors of the fair and is used as the stand is assembled. It is important to note that if the material is moved on the truck it will normally be left unattended in the aisle. That is why you have to take into account that if you want to make sure that it will be monitored, you have to hire storage, or security at your stand (security guard).

Things that you should not neglect in this assembly phase:
- Depending on the fairgrounds and the fair, the unloading of the material is done by reserving a time slot or freely by order of arrival of the trucks.
- In many cases, the truck is forced to wait at a checkpoint until the fair authorizes access. It is important to note that sometimes this control point can be several kilometers from the fair.
- Make sure you have filled out the fair forms if there are any, including the license plate of the truck and its trailer, as well as the name and details of the driver. If there are no forms, you can probably do it online on the fair's website.
- The truck driver usually has to leave a deposit at the entrance to the fairgrounds (usually between 100 and 200 euros).
- Make sure the forklift has been hired and the loading and unloading time has been indicated. Normally they are rented with a driver. The price can vary greatly depending on the fair, even multiplying by 10 in the case of abusive organizers. In Germany, for example, the normal rate is 150 euros per hour.
- In some fairs it is not allowed to unload and transport the material from the entrance of the fair to the stand by your own means and therefore you have to pay something called ¨handling¨ This is very common in the US, and is applied in some fairs of Europe, but they are few. The cost of handling is determined by the weight, this is essential when designing the stand because you have to take a good look at the volume you have to transport and its cost.
C- Platforms and floors

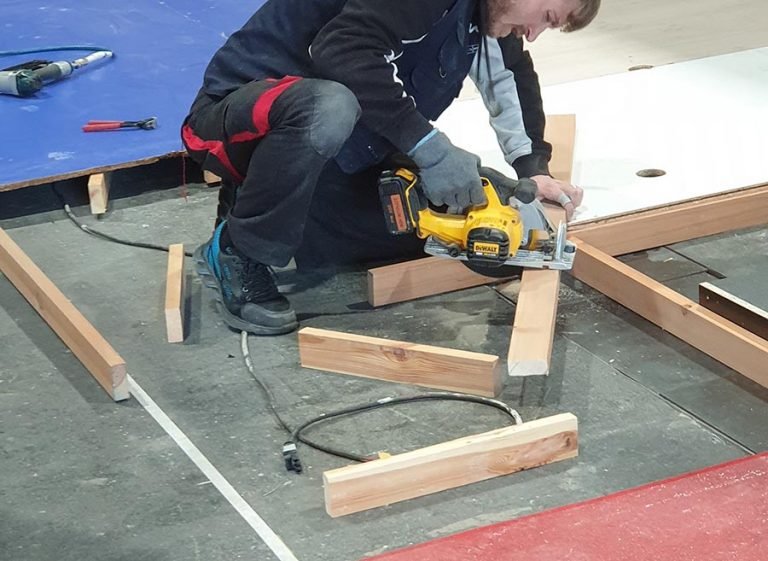
Once you are sure that all the electrical cables are in the correct place and that the services are also in the correct place, proceed to install the floor, which will usually hide all these services. It is very important that you take into account that the light points must be perfectly placed because, once the floor is laid, it is no longer possible to pass the cables through the interior of it (unless your provider uses a raised floor).
These light points are, for example, the sockets that are on a counter in the corner of your stand.

Things that you should not neglect in this assembly phase:
- Electricity, water, and other utilities often go under the skid. Once the deck is installed, it cannot be removed, so pay close attention to the exact spot where the holes need to be drilled to remove them from the deck. this is not necessary if a technical platform is installed, but it is not so common in artisan bleachers.
- The platform usually covers the service chambers that the fair requires to have free access, so it is important to practice access if necessary.
- It is important to take into account that if there are going to be large machines at the stand, the installation of the platform must be done in parts. In order to be able to place the machines without the forklift destroying the pallet with its weight, it is common to leave an area without a pallet so that the forklift can enter to the place where the machine is unloaded.
- It is important to reinforce the platform in areas where there will be heavy machines, check their weights.
D- Installation of walls, beams, totem poles/electricity

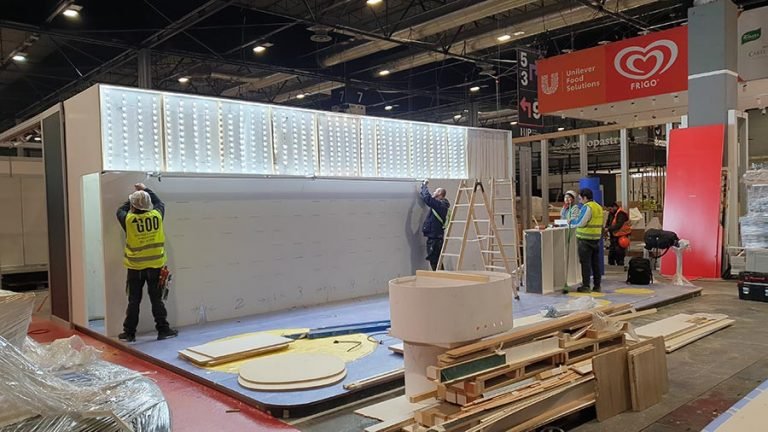
Several workers intervene in this part since the beams that go in height must be raised and the heaviest elements of the booth must be placed. At the same time, the wiring that goes inside or on top of the walls is installed and will distribute the electricity throughout the stand. Forklifts or cranes are often used to position and adjust the joinery.
- It is very important to check the good fit between the pieces of joinery, because even small mismatches often cannot be putty and will be seen after painting the entire surface.
- When the floor of the fair has chests, the walls do not fall at a perfect right angle because they are displaced by a few millimeters. This causes the setting to change and have to be compensated. In the case of the walls, the union with the floor ends up leaving a hole that is usually covered with a skirting board.
Things you should not neglect at this stage of the assembly:
- Eliminate misalignments of the walls with respect to the floor by covering the defect with skirting boards.
- Use cranes, gennies and scaffolding to work safely. A work accident is not acceptable due to carelessness.
- Make sure you have the necessary personnel to support the weight of beams and walls when placing them on site.

E- Paint for exhibition stands

Once the carpentry is installed, it is plastered and the necessary layers are painted. Normally it is done in 2 layers with high coverage plastic paint. It is important that the walls are well sanded once they are plastered, many times the panels are recycled from other stands and have marks, which is very bad for pasting graphics later. It is very important to make sure that the floor is protected with plastic in the case of melamine flooring and, if possible, double protective plastic in the case of carpet.
Many times the carpentry comes pre-painted from the workshop, so it is only necessary to give a coat of paint when painting. It is also possible that only one coat is applied because the woodwork will be covered by the textile print and a final paint finish is not necessary.

Things that you should not neglect in this assembly phase:
- The stand must be painted one day before placing the graphics, the minimum drying time is 6 hours.
- Make sure to cover the deck with plastic and try to use double plastic if you use carpet. Scaffolding and ladders often break down the first plastic, and paint can seep through the carpet.
- Take extra paint, especially colors, because if you run out you won't be able to go to the store on Sunday to prepare the color again.
- When you're done painting, leave touch-up paint cans with all the colors in the shed. Final touches are done once the graphics have been placed and we know there will be no more movement on the stand.
F- Labeling
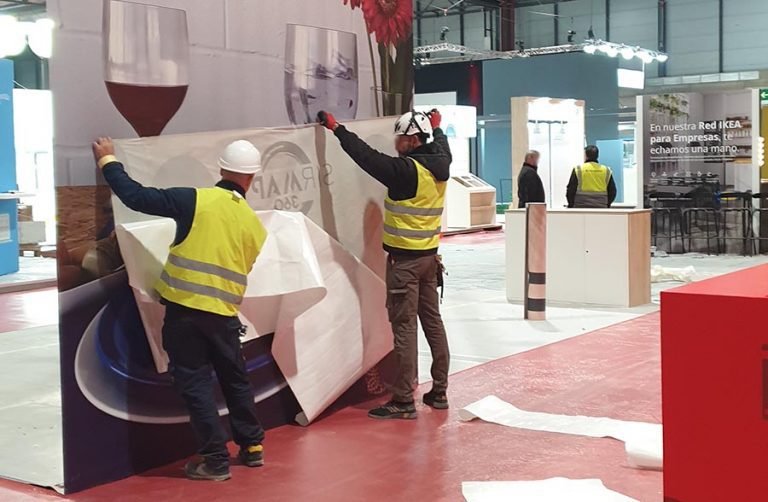
Lettering should be applied after the paint is dry. Normally, at least 12/24 hours of drying time are allowed to ensure that self-adhesive vinyls do not peel off. If this time is not respected, what follows can be a true horror movie. You don't want to see your face when you discover that the vinyls of the entire cabin have been peeled off a few hours before the assembly is finished, and with no possibility of reprinting them in time!
The counters that are usually reserved are placed on the sides of the stand, along with the furniture and TVs, if any. It is very important to make sure that at this stage the builder is still at the show because if there are any problems they have to make adjustments and tweaks, which often include (amongst others)
- Stains on the walls (repainted).
- Painted carpet because the protective plastic has been broken
- burnt out bulbs
- There is no electricity in a socket
- The graphics are peeling off

Things that you should not neglect in this assembly phase:
- Make sure that the support has been painted between 6 and 12 hours. Ambient humidity greatly influences drying times and, in some extraordinary cases, 6 hours is not enough. If you put up self-adhesive graphics, they can easily come off.
- Check before starting to install the graphics that you are not missing any, if you are missing you have to print it urgently and you cannot waste time.
- If you are going to place self-adhesive vinyl, it is important that you take this into account before placing all the panels, to check that you are not missing or left over;
- Start with the side that has the most complicated graphic so that if you have to cut it is in a less important part.
Try to have two people paste the graphic, it is always more effective.
G- AV (Audiovisual)

Audiovisuals are a very important part of fair stands. Whenever they are integrated into the stand's carpentry, care must be taken that their installation does not coincide with another activity on the stand, as they are delicate and can break. Care must be taken that they are not stained with paint or damaged by colliding with an element that is being installed.
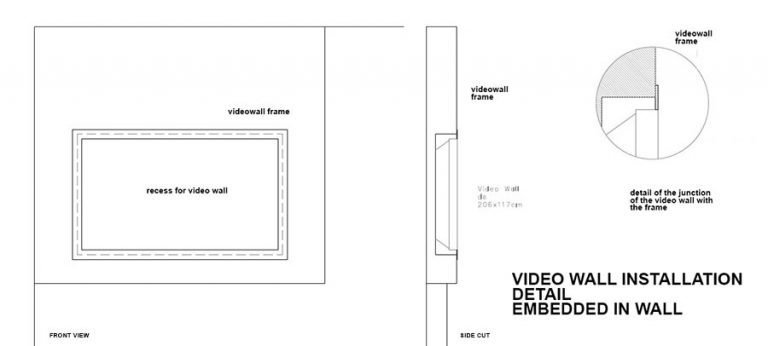
For this reason We try to leave the installation of the audiovisuals for the end, even after the graph, since the stairs are a natural enemy of the leds. In case of installing large video walls, it is necessary to anticipate the necessary time, since it is often necessary to adjust the parts and connections, which sometimes requires up to 3 days of work.

Things that you should not neglect in this assembly phase:
- When installing recessed TVs in the wall, it's important to leave a hole so you can handle the TV when installing it, if you don't have access from behind or from the side. Then you can close the gap with decorative caps.
- It is very important to note that if it is necessary to put a USB in the back of the TV, it has to be accessible.
H- Removal of plastics / Site cleaning
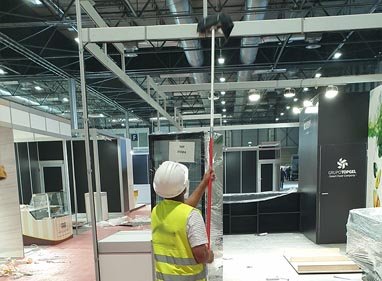
Once everything is perfect, the hired cleaning staff (maybe the supplier itself) removes the plastic with a cutter and cleans the support, the crystals and the dust to leave it ready for delivery. When removing the plastic, errors can appear, so the carpenter must have paint colors on hand for touch-ups.
Normally, the cleaning of the stands can be contracted internally or externally to the fair. The cost of cleaning the fair is always higher, but it guarantees that the staff will not have problems accessing the stand. There is a difference between site cleaning and daily cleaning, since site cleaning requires much more work and daily cleaning is maintenance.
In the event of contracting daily external cleaning, it must be ensured that the staff have the necessary exhibitor passes to access the stand, since the assembly passes are no longer useful during the fair. It must also be taken into account that when cleaning is carried out, anyone who enters the stand will dirty it again, so an attempt is made to keep the stand inactive until the next day or sealed so that no one can enter. Another option is to place plastic on the floor to be able to walk through the corridors created for this purpose and perform some task at the stand (for example: product placement).

Things that you should not neglect in this assembly phase:
- You have to request cleaning once the work on the stand is finished, otherwise it will get dirty again, this includes the graphics and placement of your product.
The people who clean must have the necessary material, vacuum cleaner, mop and surface cleaner as well as cutters so that everyone who does it can remove the protective plastic. - Try to make sure they give it a nightly checkup after the cleaning is done. Many times, when cleaning the halls, the fair returns to dirty the stands around the perimeter.
- If you have carpet, do not hesitate to hire a daily cleaning, depending on the color it can be very dirty for the day after the fair. Dark colors are the most dirty.
Each fair booth is different and I'm sure there are many dynamics that I haven't mentioned, but this is a summary of the most common things you'll find when building a booth. If you find something I'm missing, I'd love for you to leave it in the comments 😊.
Don't miss the next chapter of this exciting adventure!
I hope this post about the assembly process is useful to you. In the next post I will talk about one of the most important elements in a booth: The lighting.

